Tools
This guide will walk you through the Tools provided by the WotH Custom Item SDK and what use they have.
Make sure you ran the Project Patcher and setup your Unity Project properly
Overview
After setting up the Project you should now have the following Layout:
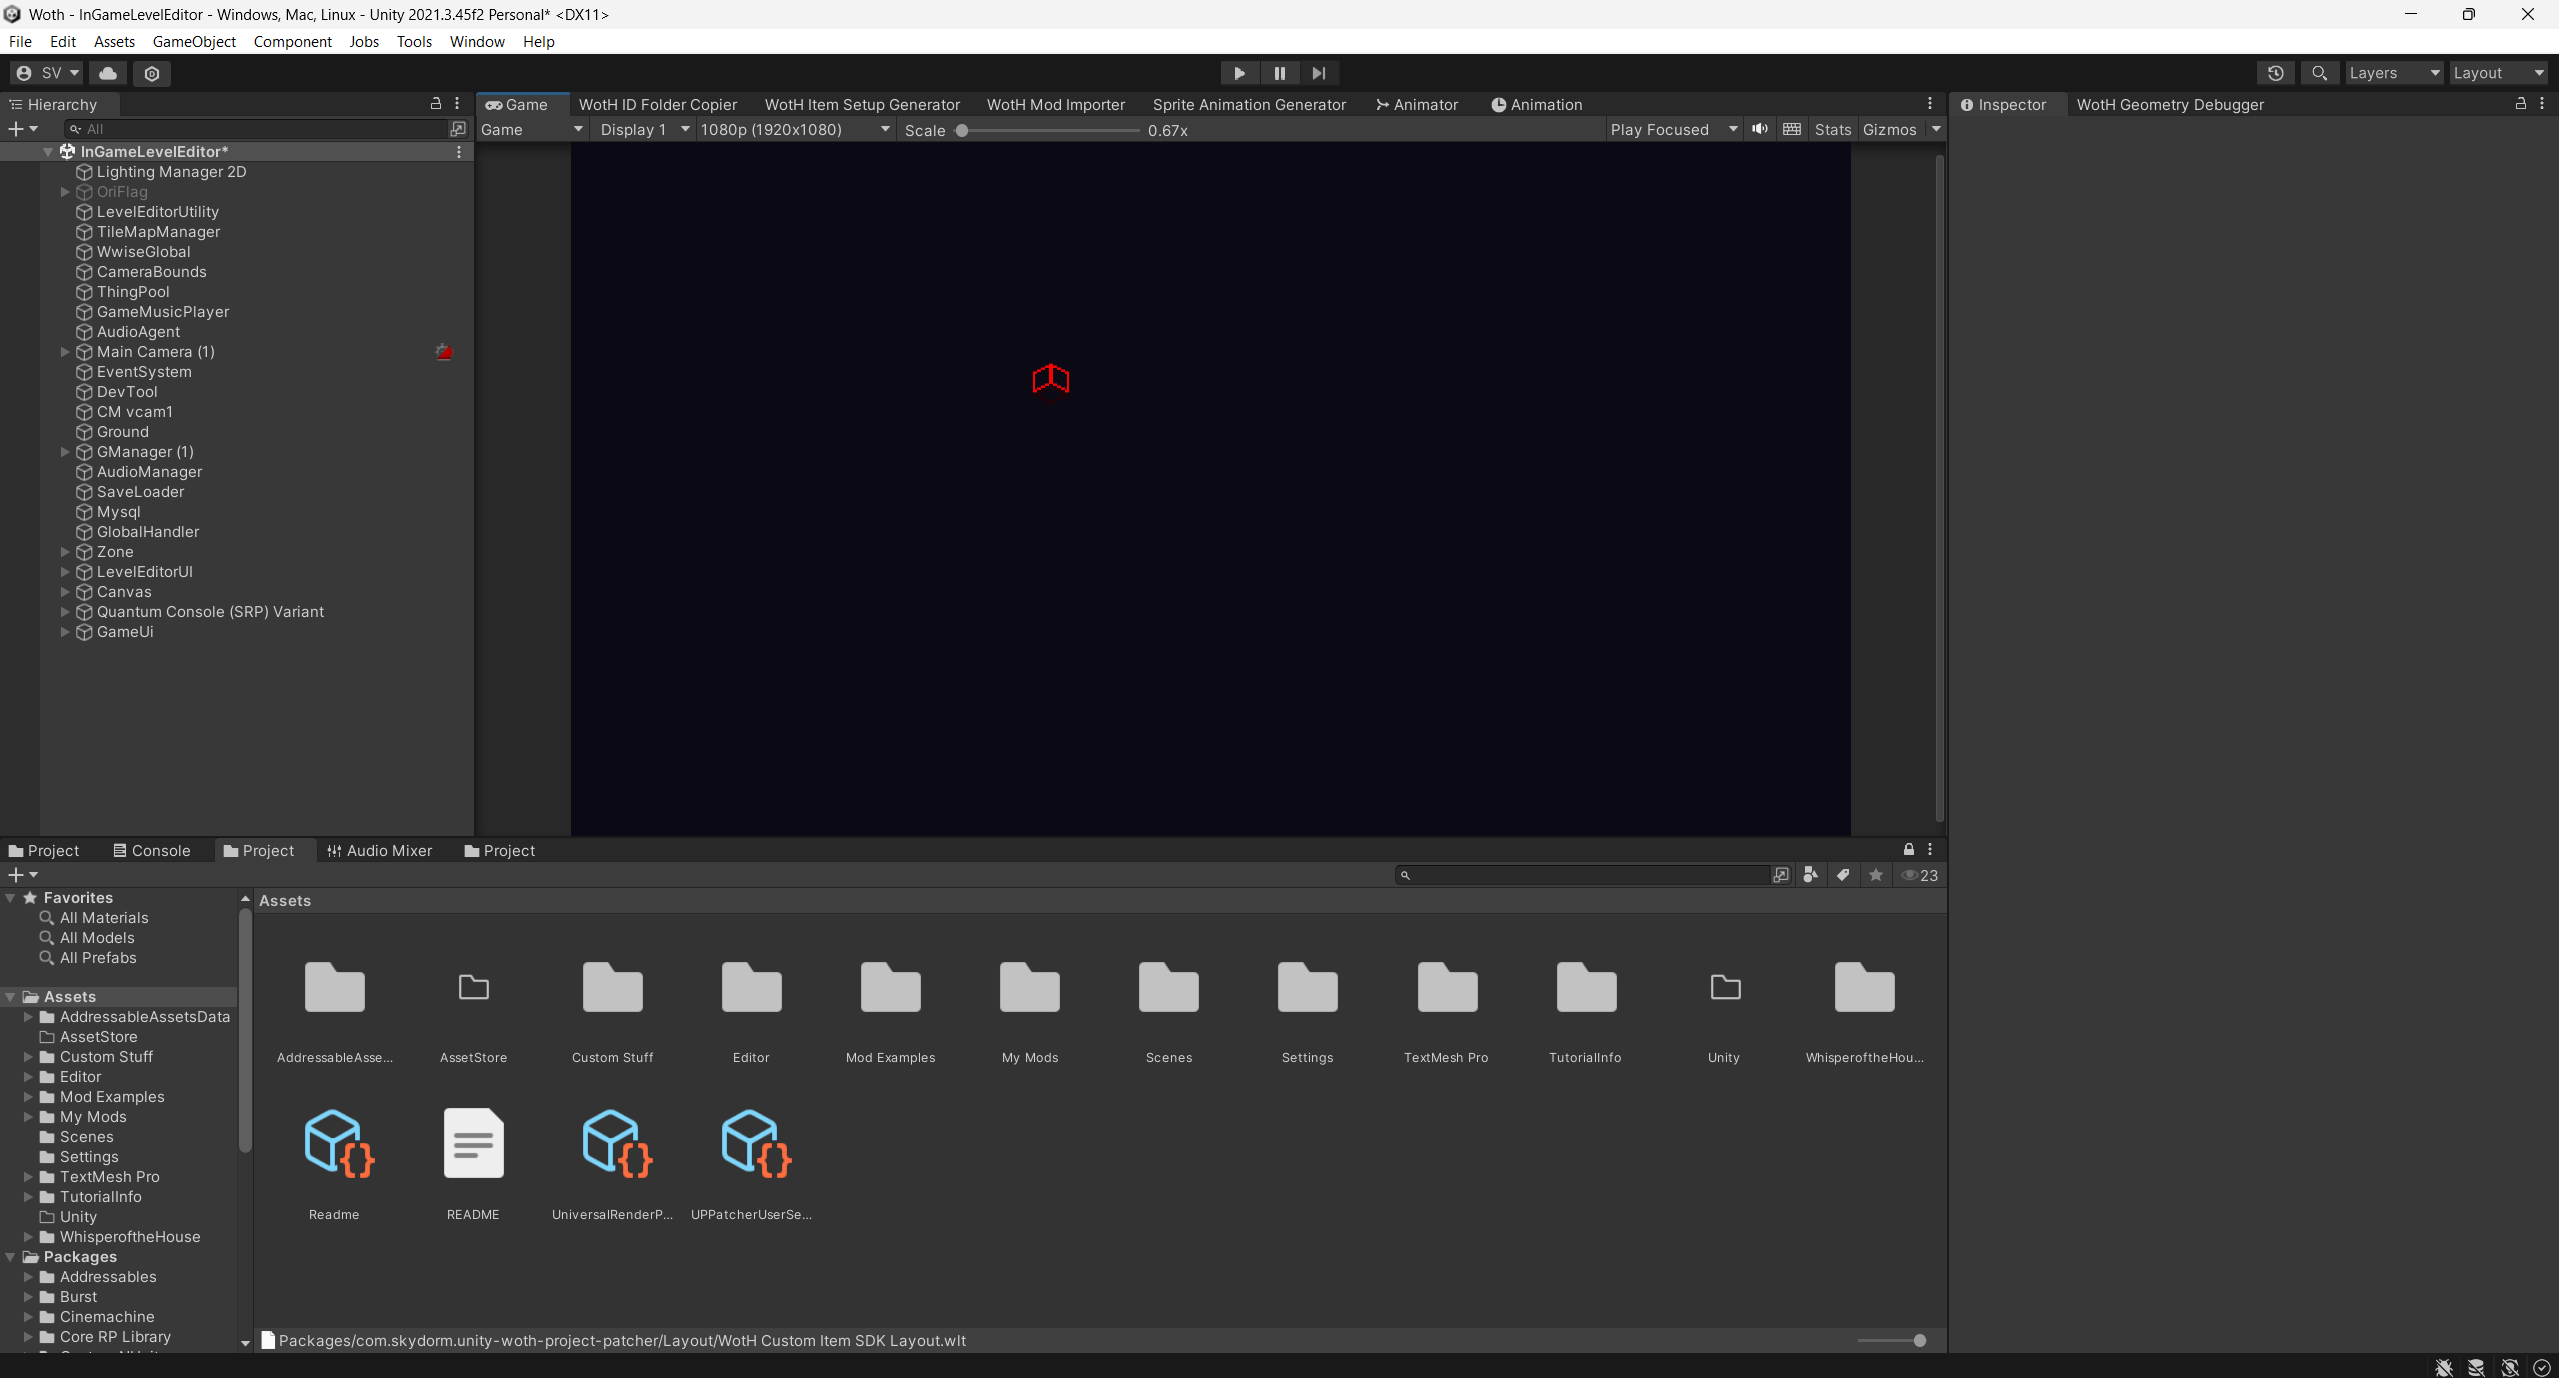
and should be able to star the game by clicking on the Play Button at the Top in the middle:
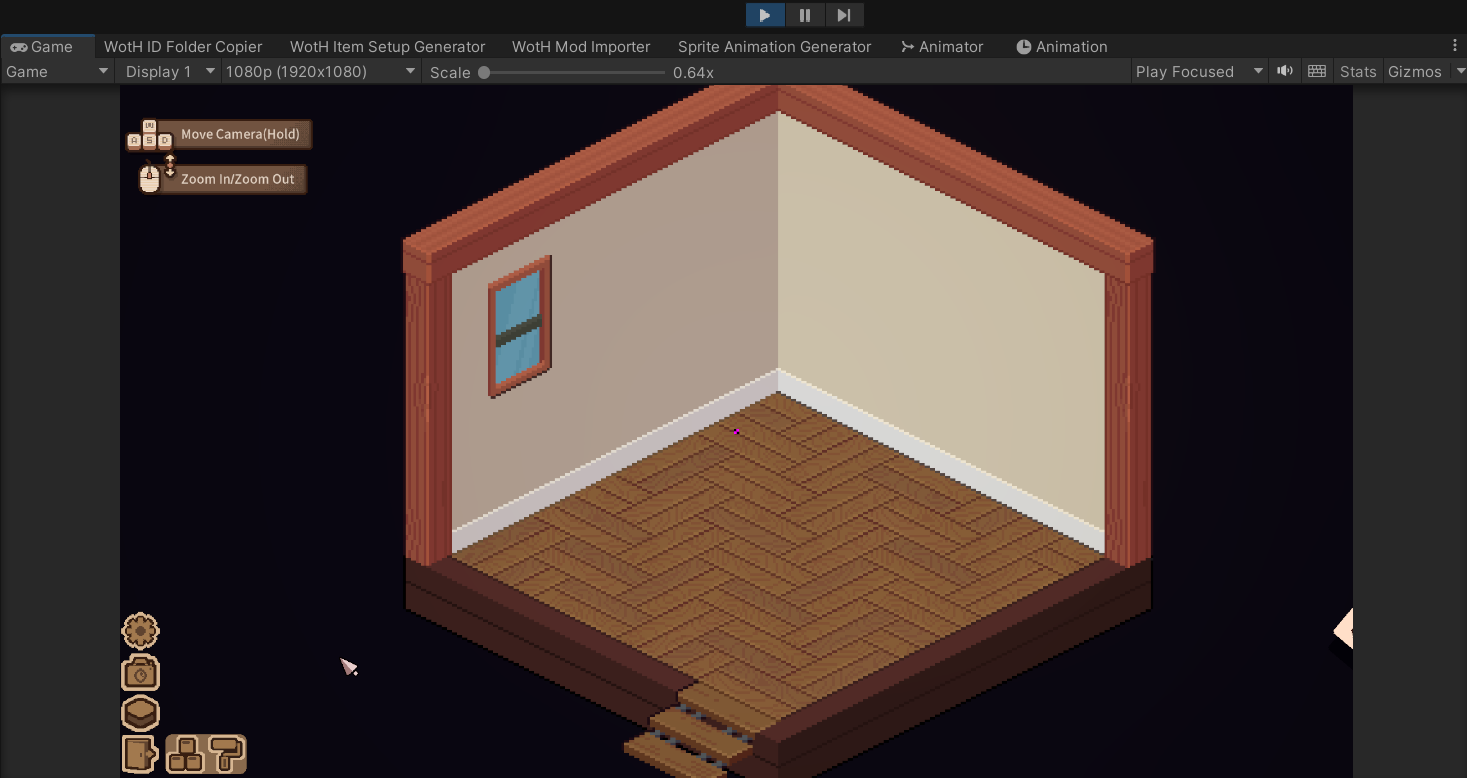
Necessary Folders
There are many Folders inside Assets. The only one necessary for modding custom Items are the Example Folder, which Contains Examples for certain Mods. Currently it contains a Modpack for Items and for Translation.
My Mods is the Folder where you should place your custom Item Mods in. It also contains a mostly finished Modpack with 7 Items.
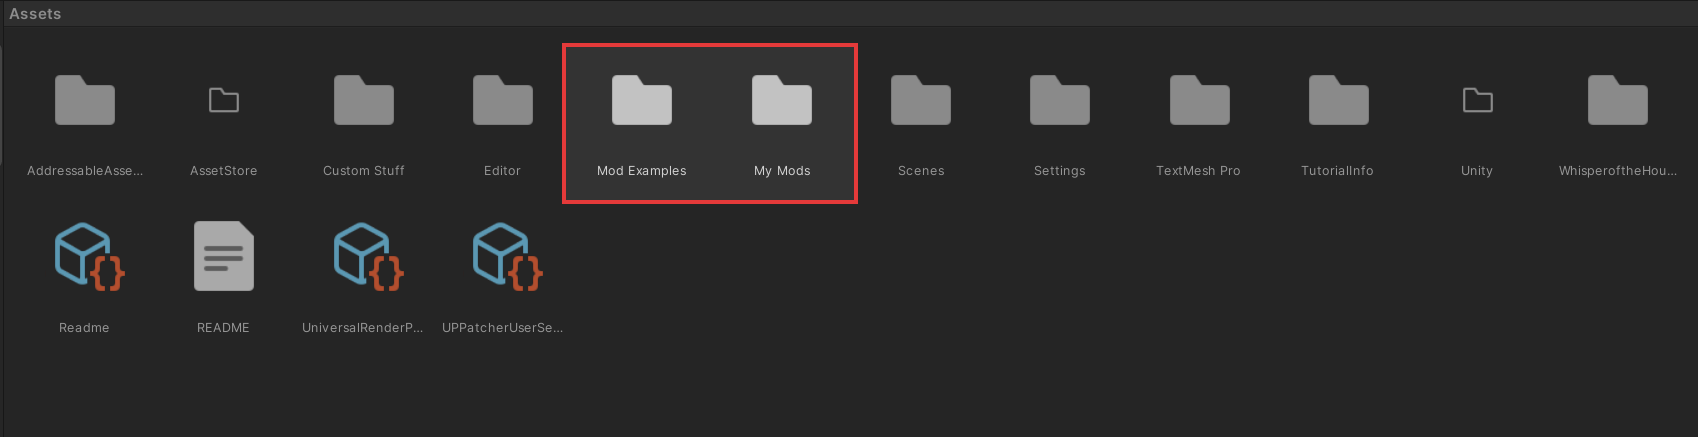
The Structure is intended that way. Not Following the Order as you see in the Examples could cause issues.
Geometry Debugger (Passive)
Everytime you place an Object on the Map, it shows up in the Hierarchy. To see if the Geometry was setup correctly, you can click on the newly created Object in the Hierarchy.
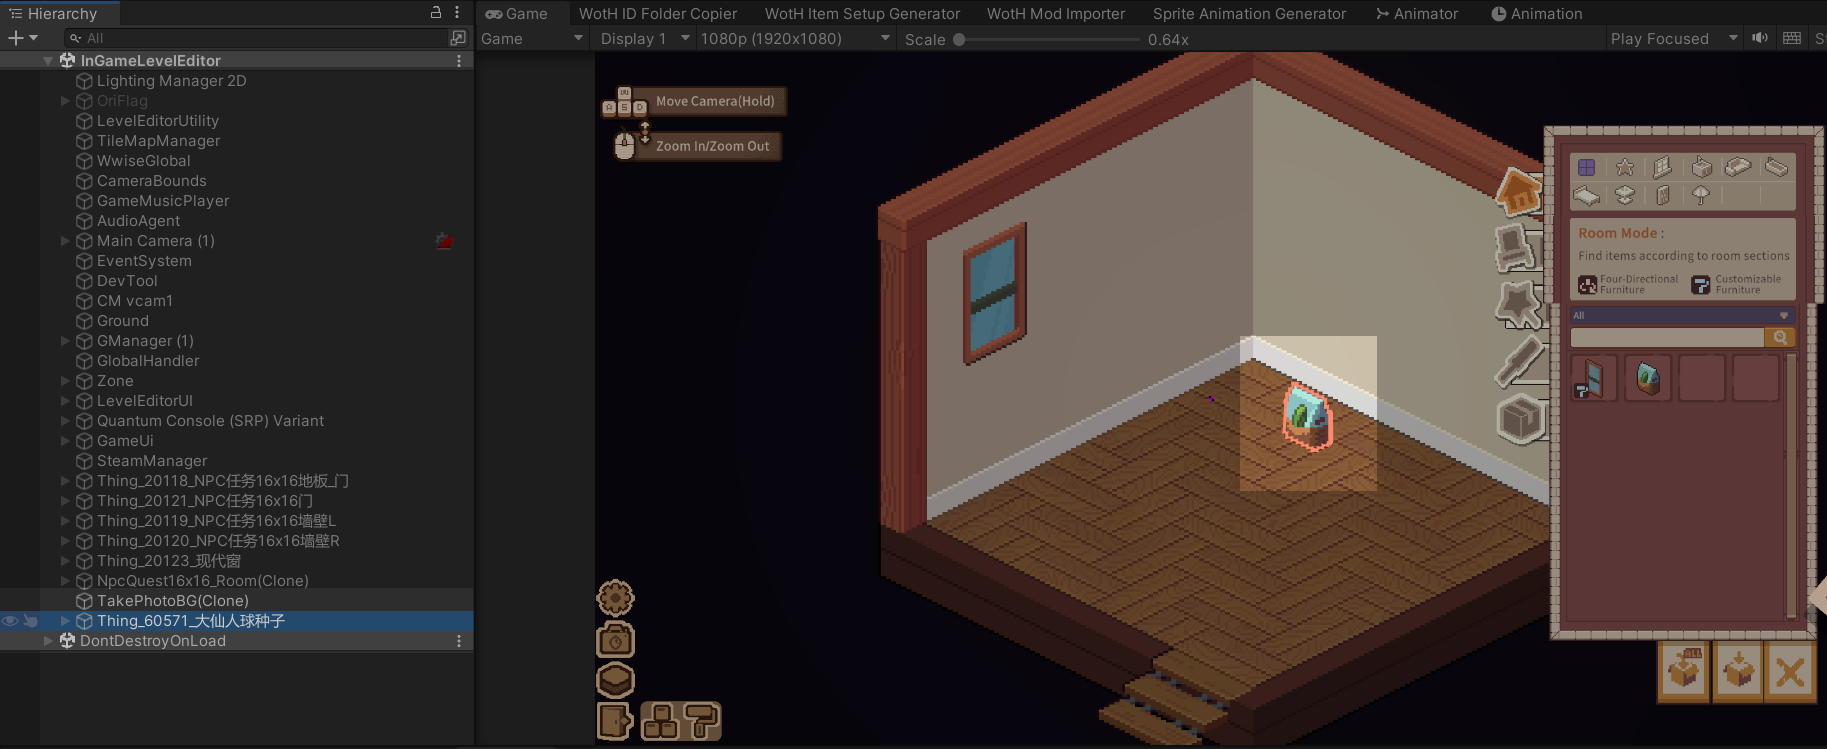
As you can see in the Image, the Object will than be marked with an Outline.
The Debugger doesn't have to show up to display the Outlines on the Object. Opening it shows you display options you can either disable or adjust.
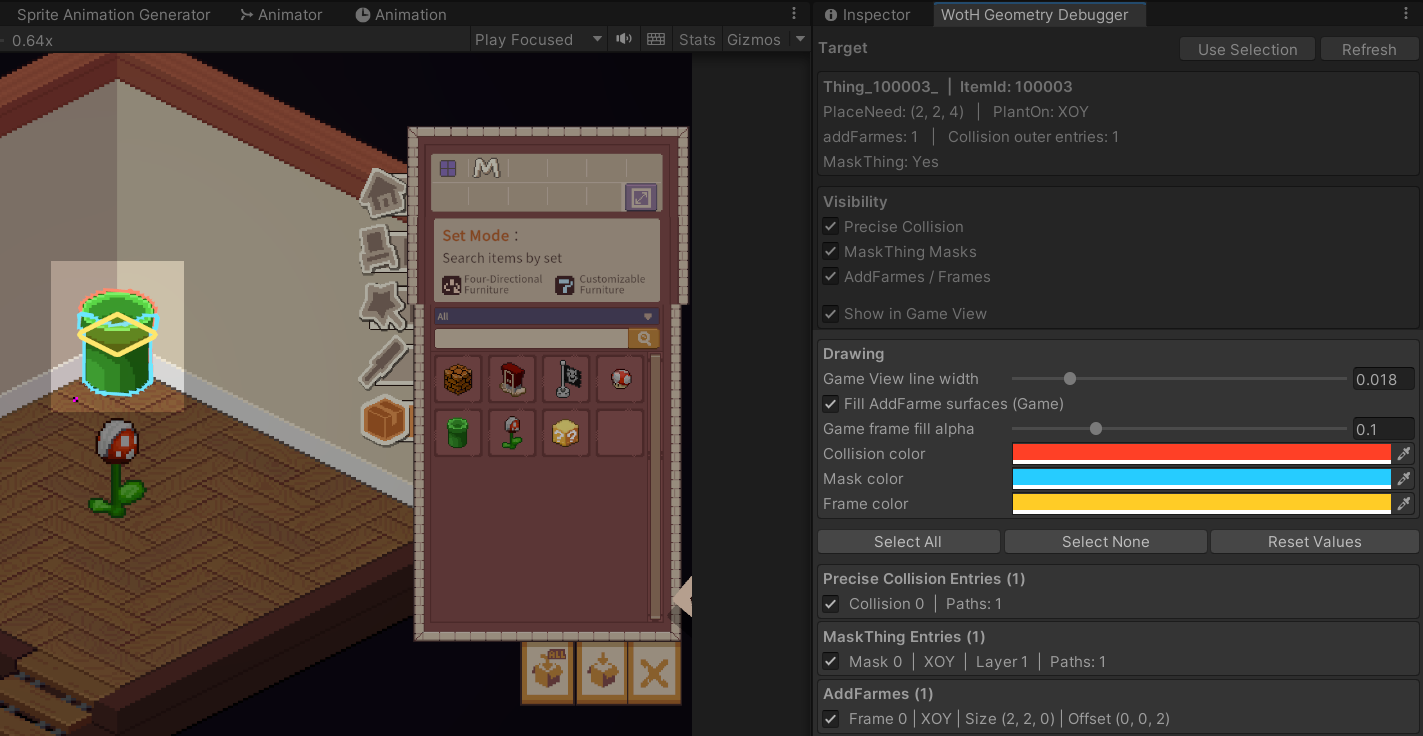
Every Item has a Collision. Mask and Frame are optional and can't be seen on every Object.
ID Folder Copier
Inside the Example Folders are files that contain [ID] in their name as a placeholder. To speed up the process, you can drag and drop an Item of your choice, like "Example Item" into the Source Folder Field.
Than move inside your Modpack in the "My Mods" folder (Assets -> My Mods -> Modpack -> Content -> Objects) and drag and drop the "Objects" folder into the Parent Folder Field.
If you keep the Parent Folder empty, the copied folder will get copied in the same Path as the Source. So if you copy the whole Example Modpack folder, you can go into it from Assets -> My Mods -> Copied Example Modpack -> Content -> Objects -> Example Item XYZ and just put the Example Item into the Source, keep Parent empty and it will paste the new object inside the "Objects" folder as well.
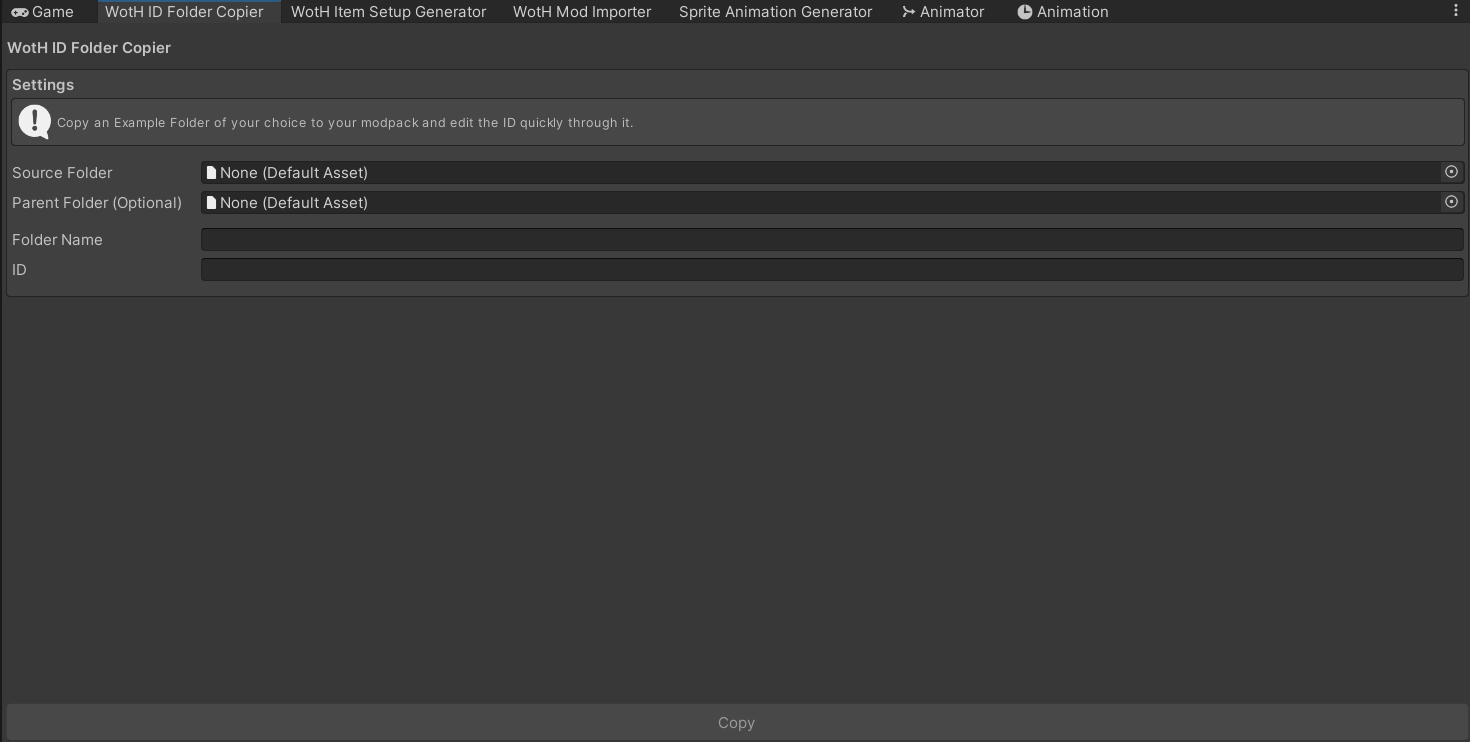
Folder Name ist the field which defines, what the copied folder should be called like. For better overview, you can simply call the Folder like the Object that you want to do inside it. Example: If you do a Brick Block, write down "Brick Block" inside the "Folder Name" field.
Item Setup Generator
As mentioned in Geometry Debugger, every Object has a Collision and eventually a mask.
This Tool can automatically fill out the necessary fields by dropping the Object Folder inside Assets -> My Mods -> Your Modpack -> Content -> Objects -> Item XYZ into it and press auto fill.
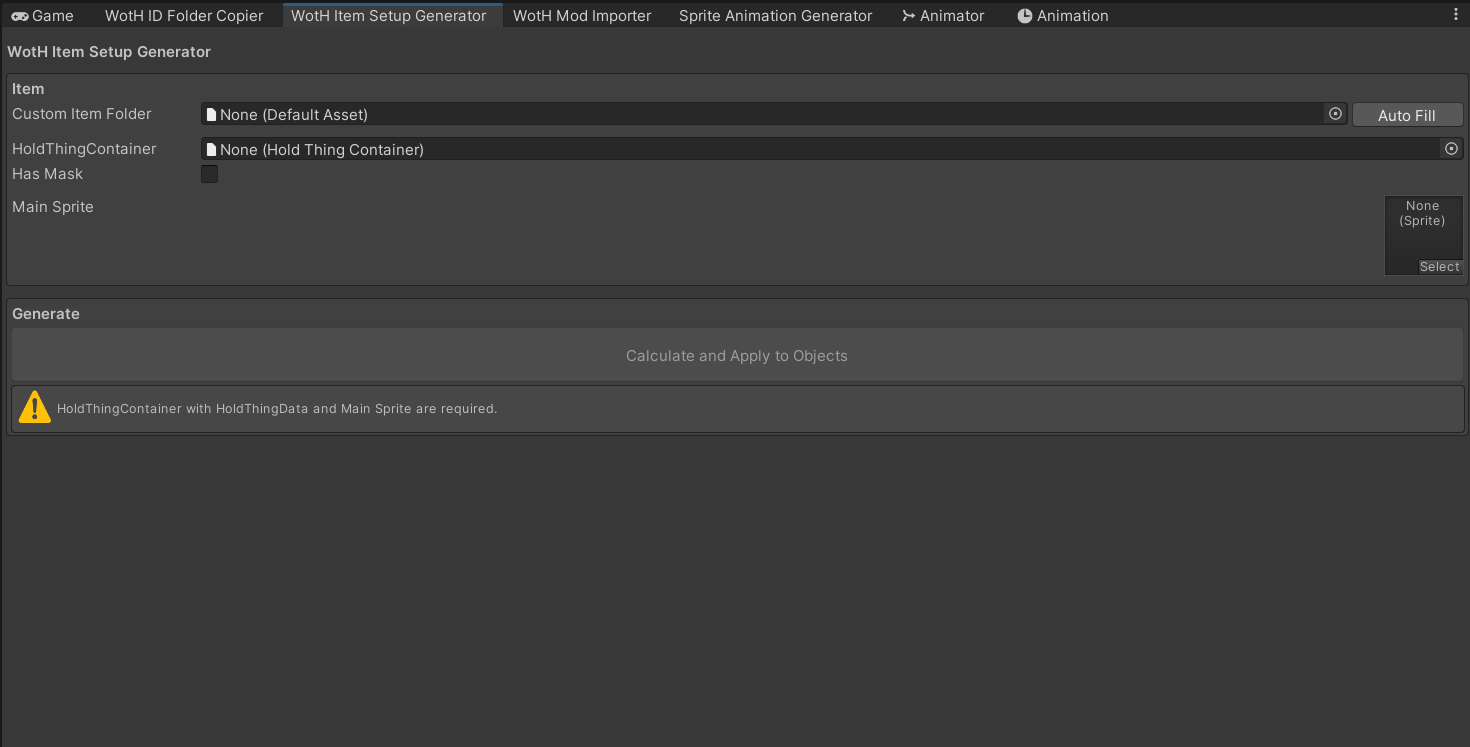
Check if everything is correctly setup and press Calculate and Apply to Objects.
Mod Importer
To Test your mods, you can use the Mod Importer that copies the Files to the necessary Folders and set the Addressables and everything else that's required automatically.
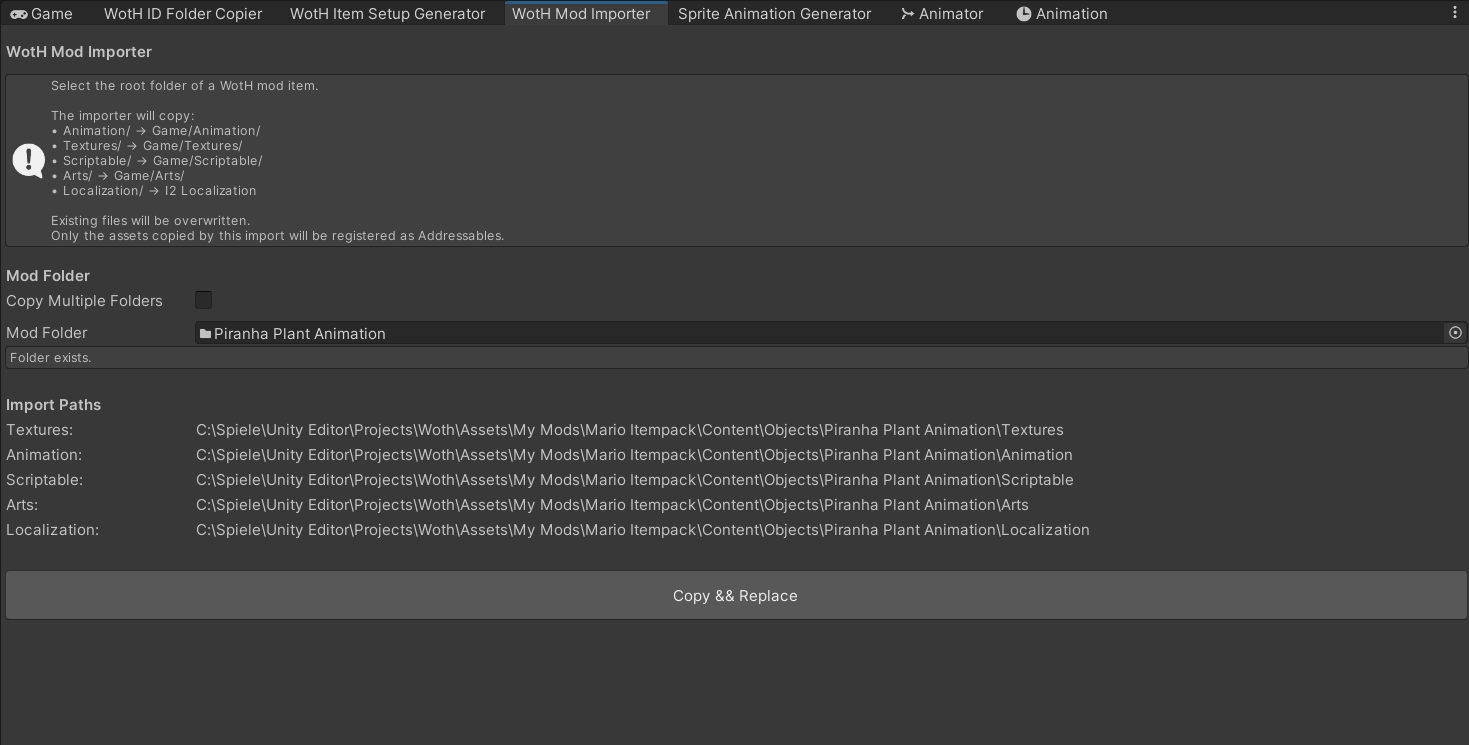
You can either select a single Mod, which is useful for Testing a new Item after finishing setting it up.
If you want to test all your Items before releasing it, you can checkmark the "Copy Multiple Folders" to true and drag and drop multiple Object Folders inside Assets -> My Mods -> Your Modpack -> Content -> Objects -> Item XYZ
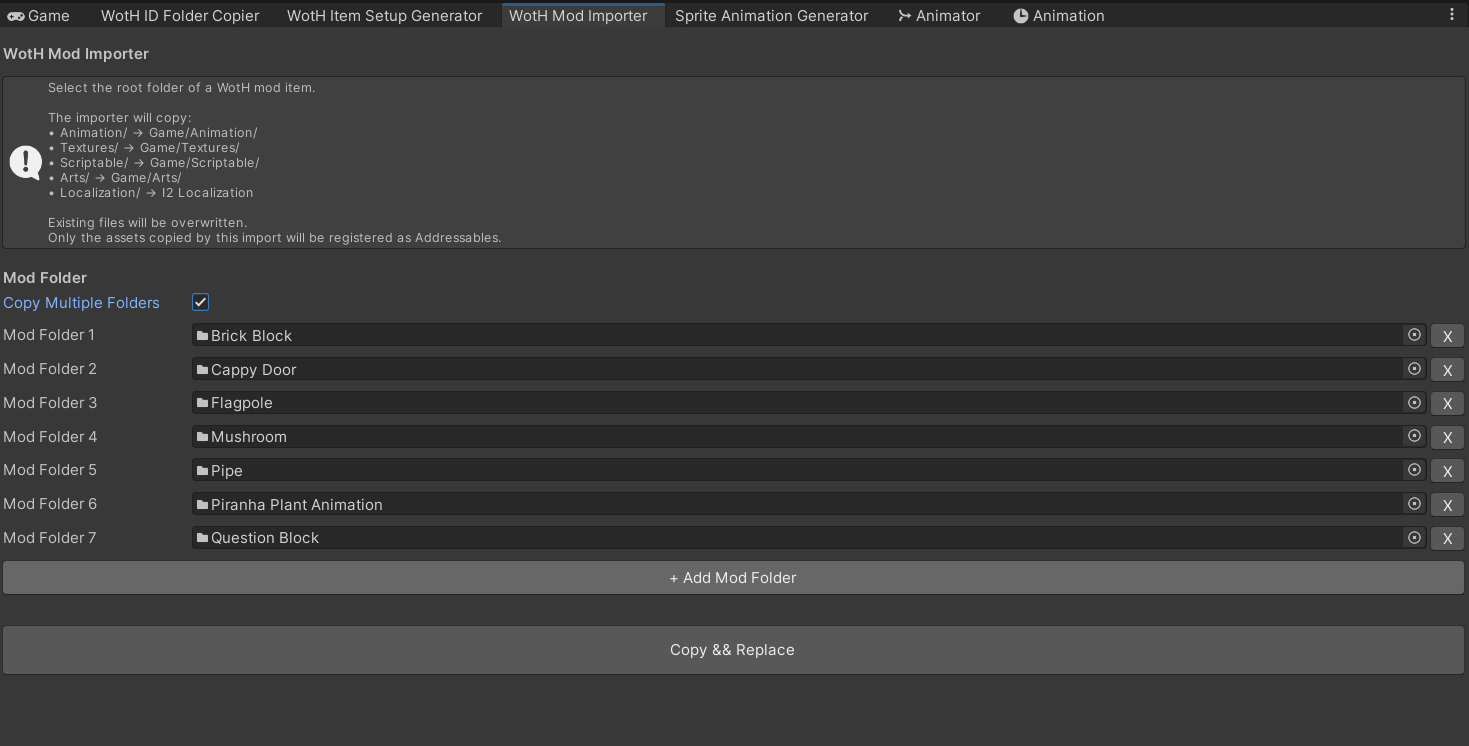
You can test the Process by going into Assets -> My Mods -> Mario Modpack -> Content -> Objects and drag and drop the Brick Block folder inside the Mod Folder Field and press Copy && Replace.
Start the Game in Playmode, open the Bag and you should see the Object in the Custom Item & Custom Package Tab.
Try out the Multiple Folders afterwards and drag and drop all folders, including Brick Block.
Sprite Animation Generator
To create Objects with Animations you require an Animation and Clips. The Generator generate Clips out of your Sprites.
For using it, go into Assets -> My Mods -> Your Modpack -> Textures -> Sprites and drop them depending on what kind of animation you want into the Sprites List.
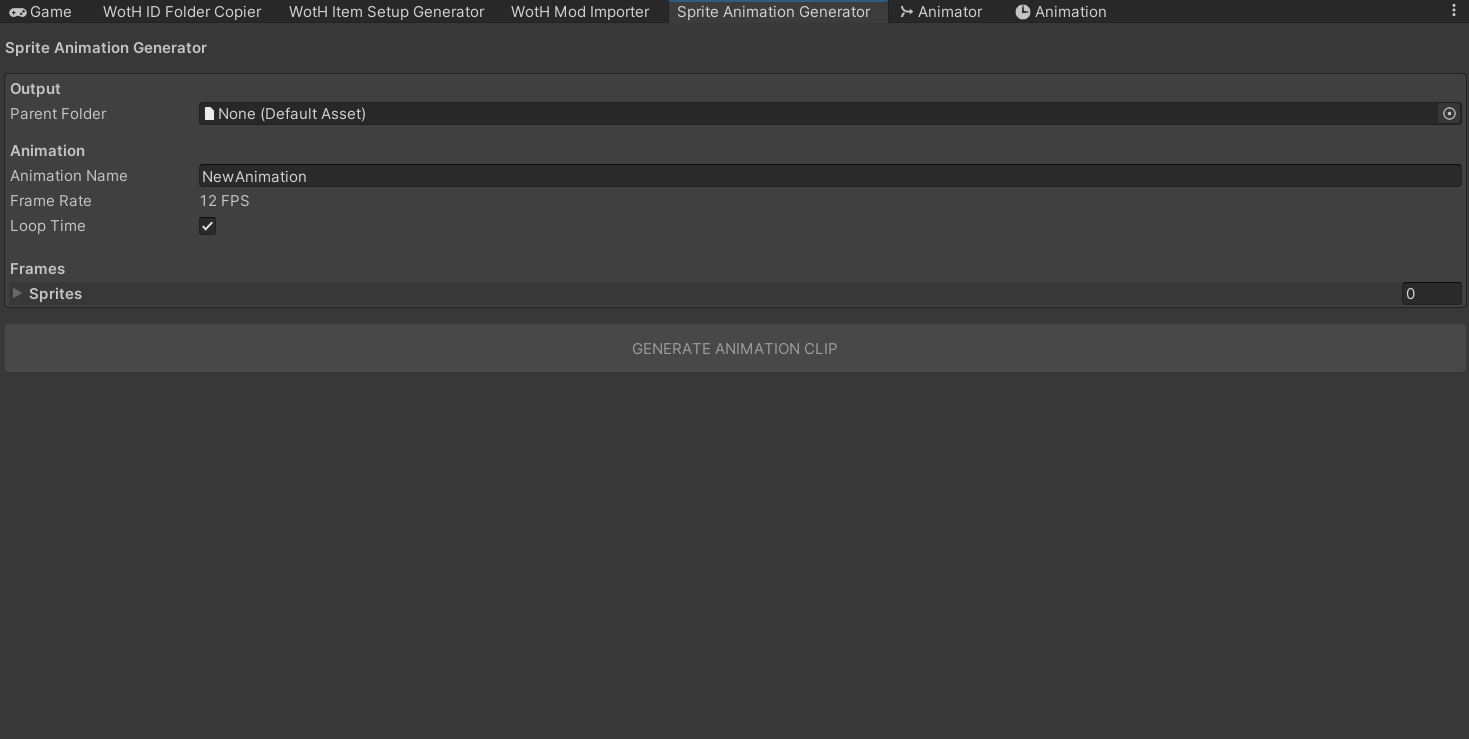
Afterwards go to Assets -> My Mods -> Your Modpack -> Animations and drag and drop the AnimationClips inside the "Parent Folder".
For Name and Loop Time, refer to the original Objects name that you want to replace.
More Infos in the Custom Items Guide